Showing posts with label DIY. Show all posts

Thursday, November 14, 2024

Pinners Conference AZ 2024!


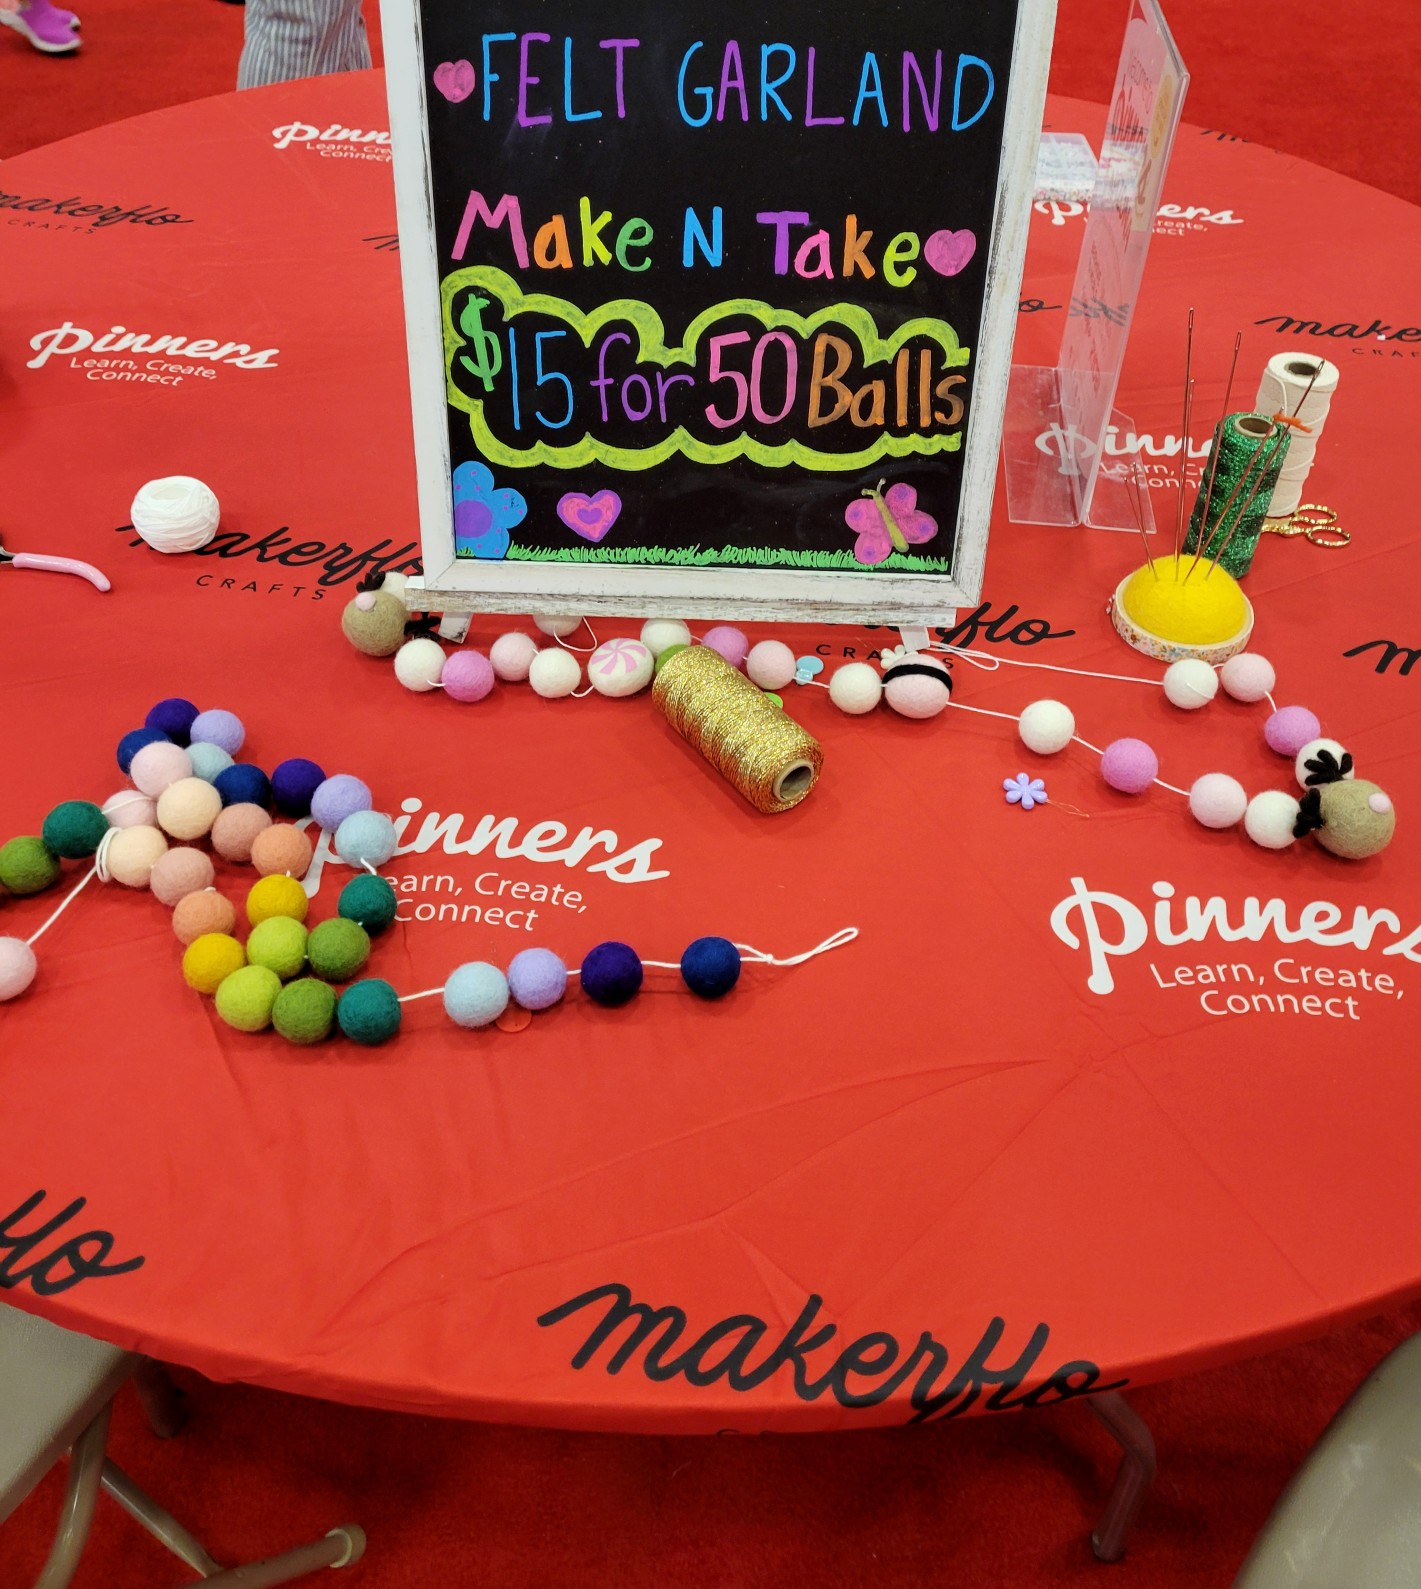
I recently had the chance to attend my first ever Pinners Conference here in AZ & It was a lot of fun! This conference is a two day event that is perfect for anyone who loves DIY and learning new hobbies/crafts. Between the 100+ classes available and dozens of shops selling take home do it yourself kits, you are sure to find something to keep your hands busy and happy. They sell different ticket levels that range from just visiting the vendor alley to tickets that include classes with prices ranging from $12 all the way up to $199 for a VIP pass. 


The classes they offer cover so many different topics & hobbies ranging from how to do your makeup or creating bath bombs from scratch to baking bread, sewing a bag or creating a handmade cutting board. You can choose to just sit in on the class or many of the classes offer kits you can purchase to follow along with & complete or take home and create at your own pace. I think they did a fabulous job setting up all of the different class room areas & crafting sections like the sewing room or the painting area. Everything was separated & organized well, that way no one was left trying to find the right area. 


Vendor wise, there were over three hundred booths set up! So you could shop till you dropped. The vendor area was a great spot to not only shop for DIY kits & goodies for yourself, but it was also a great spot to look for a few early holiday gifts. We loved that they had just about everything including clothing, pet treats, food/drinks, tools, jewelry & home goods. Even if you visit just to check out the shops, you will have a great time interacting with everyone while shopping & are still likely to spend at least two hours at the event. 


While browsing the shops many of the food & drink booths had samples they were giving out. So you were able to try out some caramels, some pretzel/chip dips, hummus, energy drinks, teas and more. Beauty wise there were samples of vitamins, lotions you could smell or try on your hands and some booths have mini samples you could take home. If you were hungry & wanted a bigger meal than the samples offered at the booths the event had two food trucks outside plus there were actual food vendors inside offering things like coffee & chocolate covered strawberries on a stick. 


I also liked that many of the booths who offered DIY take home kits also had small tables set up in the middle of the vendors area where you could work on your kit if you wished. For example one of the booths had unpainted wood kits to make your own signs, ornaments, etc that just needed to be glued together and painted. So you would find a few round tables just a few feet away from their booth that included the glue needed to connect everything plus a large assortment of paints and brushes for you to use. 


The event was family friendly! We went on a Friday & I honestly didn't think it would be as busy as Saturday would have been, but I heard a lot of people at the event talking about how they took the day off to attend. Even though there were a ton of people, the flow of traffic in the building went smoothly & quickly with no issues due to how everything was laid out. The Pinners Conference is hosted in Arizona, California, Utah, Texas, Kansas & Georgia. Keep an eye out for the event again next year! 

What kind of classes would you want to take?

Disclaimer- Thickets to the event mentioned above were provided by The Pinners Conference for the review free of charge no other compensation was provided. However, no product compensation will influence the outcome of any review. My honest opinions are used in all reviews, they are solely my own & they may vary from others. My reviews are posted for readers in order to provide an informed decision before purchase.

Tuesday, December 21, 2021

Crystal Growing Unicorn Kit Giveaway!


Crafts can be a lot of fun and also relaxing to do, they help bring out your creativity, will teach you new things and will help you create happy memories. I am always up for gifting my kids new craft kits which is why I love being a Giveaway Guru with Horizon Group USA because I get to review kits but also give kits away as well! This time around I am sharing the Crystal-growing unicorn with all of you. 

This fun kit includes everything you need to make a one of a kind unicorn covered in crystals. It has a unicorn figure, alum powder, coloring dye, paints, a paint tray, a brush, glitter and a wooden stick along with a container for when you are soaking your figure. 


The steps are easy to follow, you will need to help assist your child with the first part of this process as it requires boiling a pot of water in order to allow the alum powder to work so your crystals can grow. In total the process takes about a day because the unicorn will need to soak in the solution over night then will need some drying time before you are able to paint it and add glitter. 

The figure is a pretty decent size, and you never know how the crystals might grow so each unicorn will look unique from the others. I think this is a fun way to combine a fun interest in a love for unicorns with a fun little science experience. These kits can be purchased online from Amazon or you can buy them in store in shops like Walmart, Target and more along side their other crafting kits all at affordable prices. 

Prize Alert:  One winner is going to win their own Rainbow Loom kit.

This is open to U.S Residents ! Please remember if you DO NOT leave a comment on this blog post as your mandatory entry into the giveaway then all of your entries will be void. Doing the Daily entries will increase your chance of winning. Winners have 72 hours to respond to the notification email! 

This giveaway ends on 11/29/2021


Giveaway entry question: Leave me a blog comment letting me know another mystical creature that you love.

a Rafflecopter giveaway

Disclaimer-  Horizon Group USA provided me with the products mentioned above for the review + giveaway free of charge no other compensation was provided. However, no product compensation will influence the outcome of any review. My honest opinions are used in all reviews, they are solely my own & they may vary from others. My reviews are posted for readers in order to provide an informed decision before purchase.

Sunday, August 23, 2020

Tie dye with Horizon Group USA + A Giveaway!

Horizon Group USA sells a wide range of products for boys and girls of all ages, I've purchased some of their products in the past as Christmas gifts and the kids have always been pretty happy with their kits. I was lucky enough to be added as a Giveaway Guru with Horizon Group USA which means anytime I receive a product to test and review with my kids, I also get one to giveaway to one of my readers! Today I wanted to share their "Just My Style Radical Rainbow Tie Dye Kit" which can be purchased on Amazon for $7.99 (also available at Walmart and other stores).


This kit comes with three dye bottles; one red, one blue and one yellow. It also came with rubber bands, one pair of gloves, a iron on patch and instructions. This dye can be used on a number of clothing and accessory items from shirts to shoes, however it works best with 100% cotton. I picked up two white cotton shirts for my kids from the children's section and we set out with our kit! When this arrived in the mail the cap was off of the red bottle and a bit of the dye mixture was lost, but not enough to effect the end product.


I decided to do this in the kitchen sink because the dyes can and will stain other clothing, title, and more, so the stainless steel sink was my logical choice. Since there is only one pair of gloves you may want to pick up an extra pair depending on how many people are using this kit. Both of my children used a pair of gloves which we put on after we tied off the shirts how we wanted them. Each of the three bottles needs to be filled up with water and shaken around to mix all of the dye up with the water. Once you've thoroughly mixed the dye you can begin using it on your shirt.


There are several different ways to tie your clothing so I'd check the instructions guide to see how you'd like your pattern to come out. We went with a simple roll and tie method, both of my kids picked a different direction to roll their shirts up. The dye was easy to add to the fabric, once it starts absorbing into the cloth you can really get into a groove and you'll be done with your project in no time. The colors are easy to mix so you can achieve different shades of green, purple and orange.


After completing the two shirts we still had some dye leftover so I decided to take three white cloth face masks I had and make them tie dye as well. We let these sit for 24 hours before unrolling them, they were still slightly wet so we put them on hangers so that they could completely set. After they were dry, they were put through a cold rinse followed by a hot rinse until the water ran clear which helps get rid of extra dye before putting these into the washing machine for a final wash before wearing them.


The photos above are before they went through the rinse and wash cycle, you will lose a bit of the color in the wash which is normal. They came out a bit lighter than when we put them in otherwise they seemed to hold onto their color pretty well compared to photos of other reviews I've seen. Here is what it looked like after everything was said and done:


We had a lot of fun with this kit, I think it this is great for a family project or as a gift. Want to win one of your own? I am giving away a kit to one of you!

Giveaway Alert: One lucky winner is going to win a Tie Dye kit.

This is open to US Residents only! Please remember if you DO NOT leave a comment on this blog post as your mandatory entry into the giveaway then all of your entries will be void. Doing the Daily entries will increase your chance of winning. Winners have 72 hours to respond to the notification email! This giveaway is hosted by ME and is not associated with any of the brands mentioned above.

This giveaway ends on 09/12/2020


Giveaway entry question: Leave a comment telling me what you'd like to create with this kit.

a Rafflecopter giveaway


Disclaimer- Horizon Group USA provided a the dye kits for the review + giveaway free of charge no other compensation was provided. However, no product compensation will influence the outcome of any review. My honest opinions are used in all reviews, they are solely my own & they may vary from others. My reviews are posted for readers in order to provide an informed decision before purchase.

Wednesday, August 2, 2017

Hang-O-Matic Giveaway & Review!

****This was not a paid post and my honest opinion was used. The opinions are solely my own and may vary from others.The products mentioned below have been provided by Hang-O-Matic for the review & giveaway free of charge.****

We have dozens of picture frames, pieces of art and shelves scattered all through out our house and one of the number one things they had in common was that most were slightly uneven after being hung up. Let's face it sometimes hanging up shelves and picture frames can be a pain if you are just eyeing everything as you go and you might need to fix it once or twice before it is perfect. I recently came across a nifty and helpful tool called the Hang-O-Matic which is a measuring tape, level, and hole marker all in one portable tool.


The design of this kind of reminds me of a fishing pole, my kids got a real kick out of seeing this out of the box. This tool lets you take three easy steps to having your photo frames aligned perfectly every time. The first step is to align the two black marker bars up with where the nails need to go to hang the frame, Second you will place this against your wall making sure the level is even and gently push it into the wall which will leave behind two small holes where you need to place the nails. The third step is hammering the nails into the wall and hanging the photo. I think this is pretty handy to have around the house and I am glad I found it, I love that it will help me make sure my photos all look the best that they can and I like how portable the Hang-O-Matic is because I can take it with me if the need ever arises. This sells for $14.99 and can be purchased on their website or at a number of retailers check their website for a full list of where to purchase a Hang-O-Matic.

PRIZE ALERT:
One of my readers is going to receive their own Hang-O-Matic to use in their home.

This is open World Wide!, please remember if you DO NOT leave a comment on this blog post as your mandatory entry into the giveaway then all of your entries will be void. Doing the Daily entries will increase your chance of winning. Winners have 72 hours to respond to the notification email!

Giveaway winners are announced on FACEBOOK, If you would like to see who won my latest giveaways please visit and like my facebook page.

 Giveaway entry question: What is a DIY home improvement project you'd like to start on? 


 a Rafflecopter giveaway

Wednesday, October 26, 2016

Easy & Cheap Halloween crafts to do with your kids!

I love being able to do crafts that suit each holiday with my kids, and to be able to make several different crafts we like to look for low cost kid friendly crafts. My kids had a blast with these Halloween crafts this year so I thought I would share them here with you!

                                           Bonus photo of our pumpkins from this year!

1. Spider Egg Sacks!

For 2 sacks You will need;
A pair of sheer panty hose Adult sized [$2 at Walmart] (the photo shows toddler but that was a trial run and it didn't work out, we needed the adult size), 1 bag Spider webbing [$1 at Dollar store], fake spiders [$1 at Dollar store],scissors & a hot glue gun.

You simply need to cut the panty hose right where the legs start, then stuff some spider webbing and spiders inside. Shape the webbing into an egg shape or which ever shape you prefer, glue several spiders all over the outside and include some webbing on the outside if you wish, then they are ready to be hung.


2. Glowing Monster Eyes! 

You will need; Toilet paper/Paper towel empty rolls, small glow sticks [$1 per pack at Dollar store], scissors.

Once you run out of toilet paper or paper towels keep the empty cardboard roll. Pick an eye shape you would like an cut the pattern out of the paper towel roll then when you are ready to display them grab a glow stick and head outside. Placing these in the bushes or similar areas will give you the best results because it will make it look like eyes are watching you, crack the glow stick then insert it into the tube and place it where you would like. Below it is just sitting on my dresser so you can see a little glow coming out of the sides but if you place it into a bush you won't see that.


3. Hanging Bats!

You will need; Black cardstock or construction paper [I found a pack of 50 papers on sale for $2.49,it will make 25 bats], scissors, clear tape, hole punch, a print out of a half bat wing template & string.

We used the template to cut out half bats from all of the black paper then we used clear tape to connect two halves together to make a whole bat. After they were taped together we used a hole punch to make a hole at the top for tying string onto then we hung them up! When the wind is blowing slightly they really do look like they are flying.


4. Fairy Skeletons! 

You will need;  A pack of small hanging skeletons [$1 per string at The Dollar Tree], 4 butterflies per string [Depending on the color you want you can find 2 packs or 4 packs of butterflies for $1 at the dollar store], scissors & a hot glue gun.

Use the scissors to carefully remove the body from the butterflies to detach the wings, the body for the butterflies I bought at the dollar store easily split in two and I was able to get the wings off without issue. After the wings are removed glue them to the back of the skeletons shoulder blades, once all four are completed you can hang them up. The strings are kind of small so they are best for in the house vs outside.


What are some of your favorite Halloween crafts?